All About The Glide Shot Put Technique
Glide shot put is a discipline of athletics and to master its technique is not an easy task. The aim of the glide shot put is to throw a metal ball as far as possible by stretching your arm explosively. When pushing, the circle with a diameter of 2.13 meters must not be left. Various techniques have been developed over the years, we’ll cover the basis for these advanced glide shot put techniques in this article.
There are two commonly used techniques for glide shot. The first is the O’Brien Glide Shot Put technique or the O’Brien Glide, which was introduced in 1952. This is by the American athlete William Patrick O’Brien of the same name. He was the first athlete to throw over the 18 and then also over the 19 meters with this technique. With the O’Brien Glide, one leaves with the back to the throwing direction and one turns 180° to release the ball. This with the underlying thought “The longer you push, the further you punch.” (O’Brien, 1953)
The second glide shot put technique is that of Alexandr Baryshnikov, a Russian shot putter who won an Olympic medal in 1976 and 1980. This technique, which is very similar to that of the discus throw, consists of one and a half turns after which the ball is ejected. The disadvantage of this glide shot put technique is that the speed can cause the athlete to go outside the ring or hit the impact beam at the top. This technique is most often used at the top level. When we go to the youth series we almost always see the O’Brien technique.
The glide shot put technique that will be used to demonstrate this is very similar to the O’Brien technique. The techniques for each part are briefly discussed below. The general basis is explained here, for a more extensive specific program: we recommend reaching out to a proficient coach training.
The Starting Position of Glide Shot Put Technique
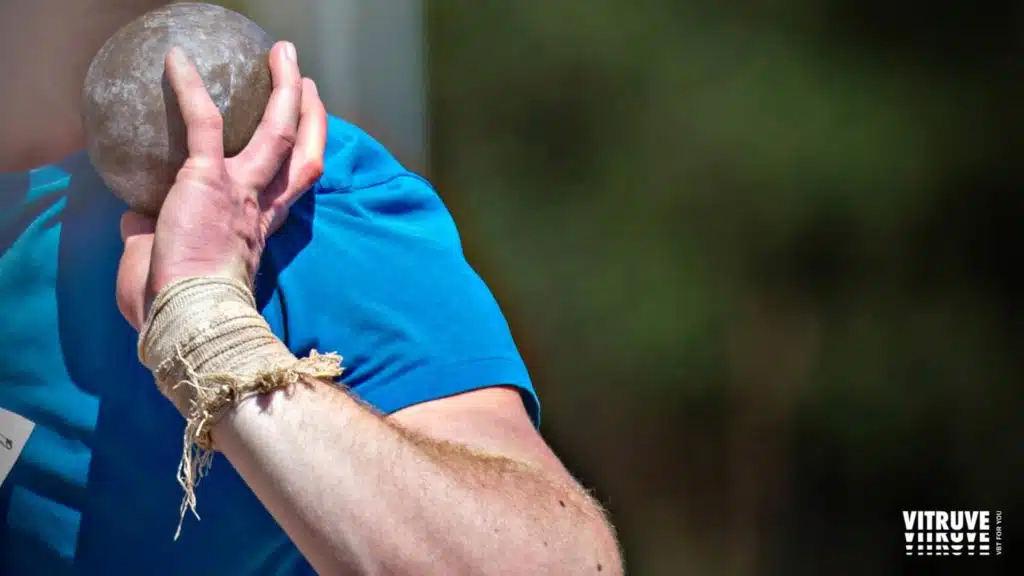
In the starting position, the center of gravity is over the bent standing leg with an optimal bend angle (knee angle 120°, hip angle 60°). The auxiliary leg is located behind the supporting leg. The slide-on movement is initiated with a clear cut-off movement, whereby the pulled leg does not rise above knee height. After the left leg has started the extension backward, an active, flat push-off of the standing leg over the heel follows.
The left leg extends, while the upper body remains low and the shoulders remain perpendicular to the direction of the punch (this is called staying closed). The sales are clearly directed backward. The left-arm remains pointed backward with this movement.
The Punch
The push-off leg and the right hip turn in during the slide so that the foot is turned in at approximately 120° relative to the direction of the strike (10 o’clock on the clock). The right leg is bent on placement and the foot is turned in (120° (10 o’clock on the clock)), but the shoulder axis is still perpendicular to the direction of the punch. The viewing direction is then still directed backward.
This creates a clearly visible twist between the hip and shoulder axis.
The left leg is placed almost straight (160°) shortly after placement of the right leg. The right shoulder is still largely over the right leg and the left hand is still behind the left shoulder (side view) (remains as close as possible to the upper body).

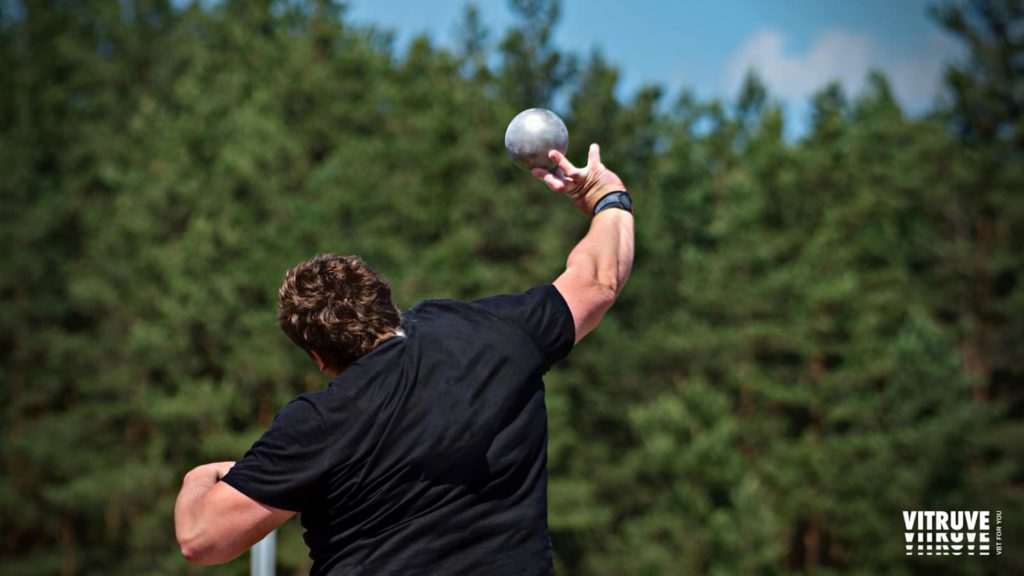
The emissions are used by:
- An active straightening movement of the right leg;
- Followed by bringing the hip forward;
- Followed by the upper body and finally, the ball leaves the neck when the hip axis is almost perpendicular to the throwing direction.
In doing so, the left leg extends completely and the left side of the body blocks in such a way that all speed is directed forward. The left-arm folds up on the side of the body.
Circumference
Possibly a turnaround can follow in which the blocking foot (left foot) leaves the ground as late as possible (only after the right hip has come next to the left hip). The right foot replaces the blocking foot, and the shoulder axis remains horizontal as much as possible, something that can be achieved, among other things, by keeping the “punch armpit” high.
Rotate: Starting Position
With the twist punch technique, the athlete stands in an optimally deep starting position (around 130°) with the back to the throwing direction. After a branch movement from the legs, the active rotation of the left foot over the ball of the foot follows. The center of gravity of the thrower moves in one smooth movement on the left leg. In the meantime, the right foot comes on the toe but keeps contact with the ground with bow legs so that after take-off the right leg makes a sweeping, wide movement around the left leg with the instep of the foot out as the foot hits the left leg passes (rearview and side view). This creates inertia that provides extra speed in the further course of the movement. The rectilinear push-off of the left leg towards the circle centerline is done without straightening the leg.
In the unsupported phase, the ram brings the knee of the left leg close to the right knee and the left arm close to the chest in a movement opposite to the direction of rotation, allowing the ram + ball system to rotate effortlessly when the right foot is placed and the maximizes torsion between hips shoulder axis. The right foot is placed on the ball of the foot approximately perpendicular to the throwing direction. The left arm only opens in the throwing direction just before the left foot hits the ground so that the twist between the hip and shoulder axis is preserved for a long time. The left hand is still behind the left shoulder when the left foot touches the ground (side view). Explosive pressure and rotation of the right leg push the right hip of the ram in front of the ball in the throwing direction while the left side of the body is blocked. After an active deployment of the non-punching arm in combination with the forward rotation of the right hip, the bullet is ejected by means of an explosive leg extension. The left side of the body is blocked and forms a line from the foot to the left shoulder. At the last moment, there is a turnaround that prevents the ram from going after the bullet.
If you are looking to reach your fullest potencial as an athlete and you want to learn more about sport science, VBT, how to improve your training routine and how to mesure your performance, we have lots of articles that can help you achieve your goal. If you have any questions, don’t hesitate to ask! Leave a comment or contact us here.